 Getting Started
Welcome to the Digitise Forms
Digitise Forms is a software package designed to enable you to quickly and easily produce electronic forms (eForms).
eForms are just like paper forms but they are accessible via a web browser. eForms can be accessed from a computer, tablet or mobile phone, can be completed in or out of working hours and remove the need for contact with an organisation's staff, allowing anyone who has access to the internet to communicate with you 24 hours a day, 7 days a week. eForms can play a significant role in streamlining business processes and creating efficient communication channels.
Digitise Forms allows you to design and create effective, simple to use eForms, which can be used for a variety of purposes, including recording and gathering data or personal information and requesting services. Once you have created an eForm, you can make it available to the relevant audience from a website.
eForms can be used to input data internally within your organisation or used to allow external users, such as citizens or customers, to communicate with you. Data from completed forms can be stored in a SQL database to be processed later or can directly update back-office systems.
The Getting Started
This section aims to enable you to quickly start creating your own eForms with Digitise Forms. We suggest you start with the following
- Video Tutorial - video giving an introductory overview to creating eForms using Digitise Forms,
- Introduction to Form Studio - A guide to the component parts of the Form Studio window,
and then work through the additional topics in this section from the help menus within this online help.
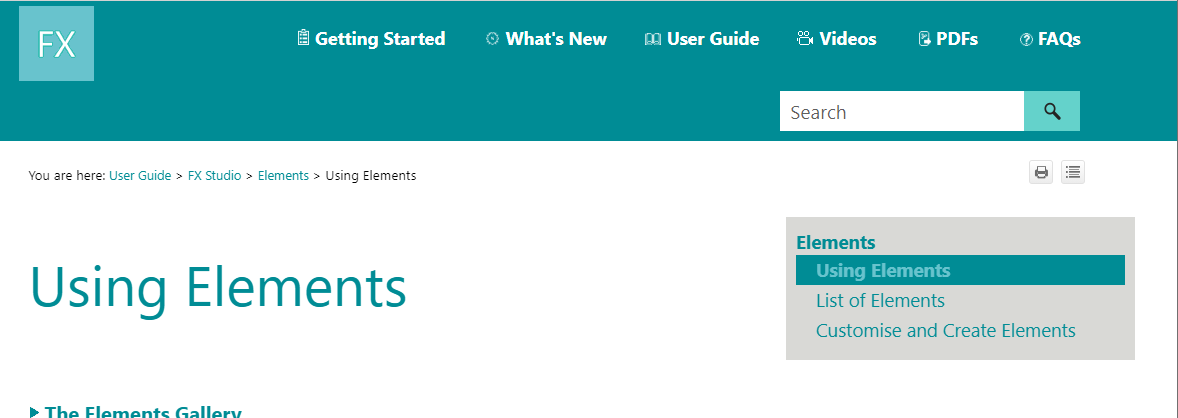
To help you navigate through the online help, menus are provided along the top and on the right of each page, together with 'breadcrumbs' at the top left of each topic:

Clicking on a menu item in the top menu will display the initial page for that section and then the right-hand menu lists any additional topics. Hovering your mouse pointer over a top menu item will also display the menu of additional topics for that section, where there are additional topics. You can display a topic by selecting it either from the right-hand menu or from the appropriate drop-down top menu.
Below a certain window width, the right-hand menu isn't displayed to save space and the top menu will change to a hamburger menu,  . Click on the hamburger to display the menu.
'Breadcrumbs', e.g.: in the picture above, show you your current position in the online help and allow you to move to any of the topics in the path displayed by clicking on the topic you want to move to.
You can return to the Home page at any time by clicking or tapping  in the top left-hand corner of every page.
Within a topic, a  symbol indicates hidden text. To reveal the text click on the symbol or the text beside it. The symbol will change to a
  to indicate that the text is currently showing. To hide the text again, click on the
  or the text beside it.
You can expand and hide all hidden text on a page by clicking on the  button in the top right-hand corner of the page.
You can also print individual pages using the  button, beside the Expand All,
  , button.
To prevent repetition, topics often contains links to other topics. Clicking on a link will display the linked topic so that you can get more information about the subject if you wish. Links are displayed underlined, e.g. Introduction to Form Studio, and will generally open a new browser window or tab or display a popup window over the existing window/tab. To close a popup window, click on the close button, top right, or outside the popup window.
Once you are familiar with the basics, the User Guide section provides more in-depth details about Digitise Forms' features and functionality, covering both Form Studio and Form Manager.